Working with Stata
The Stata starting screen
After starting Stata, the display will show a Stata window consisting of several sub-windows. The exact set-up of these windows has changed several times during Stata's history.
Version 12 and higher
By default, the center of the Stata screen is dominated by the Results window. Beneath, there is the – much smaller – Command window. To the left, there is the Review window that lists all the commands that were entered during the current session. To the right, you'll find the Variables window that provides a list of the variables in the current data set, and the Properties window, which gives information about the variable that is highlighted in the Variables window and about the data file.
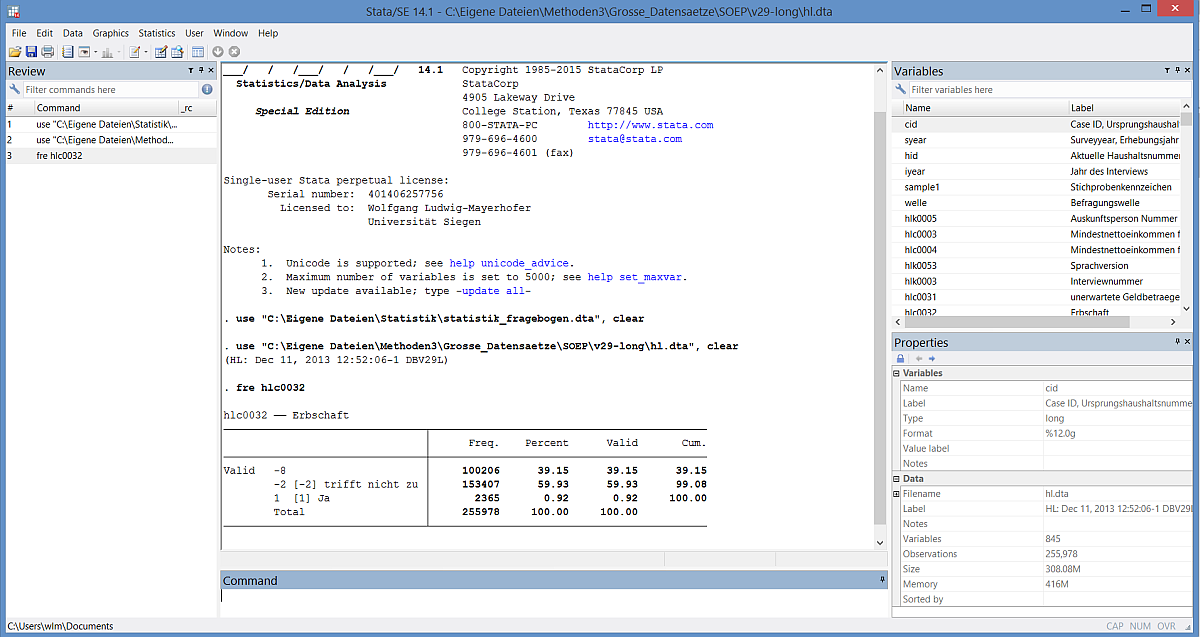
Data are not shown by default. However, upon pressing Ctrl+8 (on German language keyboards: Strg+8), a window will open showing some colums of the data set plus the Variables and the Properties windows. Note that in earlier versions, Ctrl+8 served to open the do file editor. This can now be accomplished by pressing Ctrl+9 (German: Strg+9).
Earlier versions
I started to work with Stata's version 8, and here the Stata display was green characters on a black background, a setup to which some Stata addicts adhere until this very day. As of version 9, the default setting is black and white. Also, the composition of the screen was somewhat different in earlier versions, as were the commands required to open a do file or the data window.
Note that Stata commands are also changing constantly, if slowly. While I am still an active Stata user and therefore chances are that I notice changes that are introduced in newer versions, I cannot promise that everything that's new is translated immediately into this guide. Overall, most of what is covered by this guide refers to version 11 or 12, with newer versions taken into account whenever possible. But much stuff will work with older versions (I will try to indicate exceptions to this rule).
You should be aware that older commands, while deprecated, never are completely dropped from Stata. However, if you wish to use a command from an older version, it may be safe to inform Stata about this by inserting a command that indicates which version is to be used in what follows; this line is simply version XX, with XX to be replaced by the number of the version you are planning to use. Therefore, once you have completed a do file, it is advisable that you insert a line to this effect on the very start of the do file; this will ensure that the do file will still run in a couple of years, even if you will be using a newer version of Stata by then.
Submitting commands
The menu system
Like all other modern software, Stata offers a menu system -- that is, you do some clicking, occasionally mixed up with some writing. This might look like this:
However, working with the menu system is not supported by this guide.
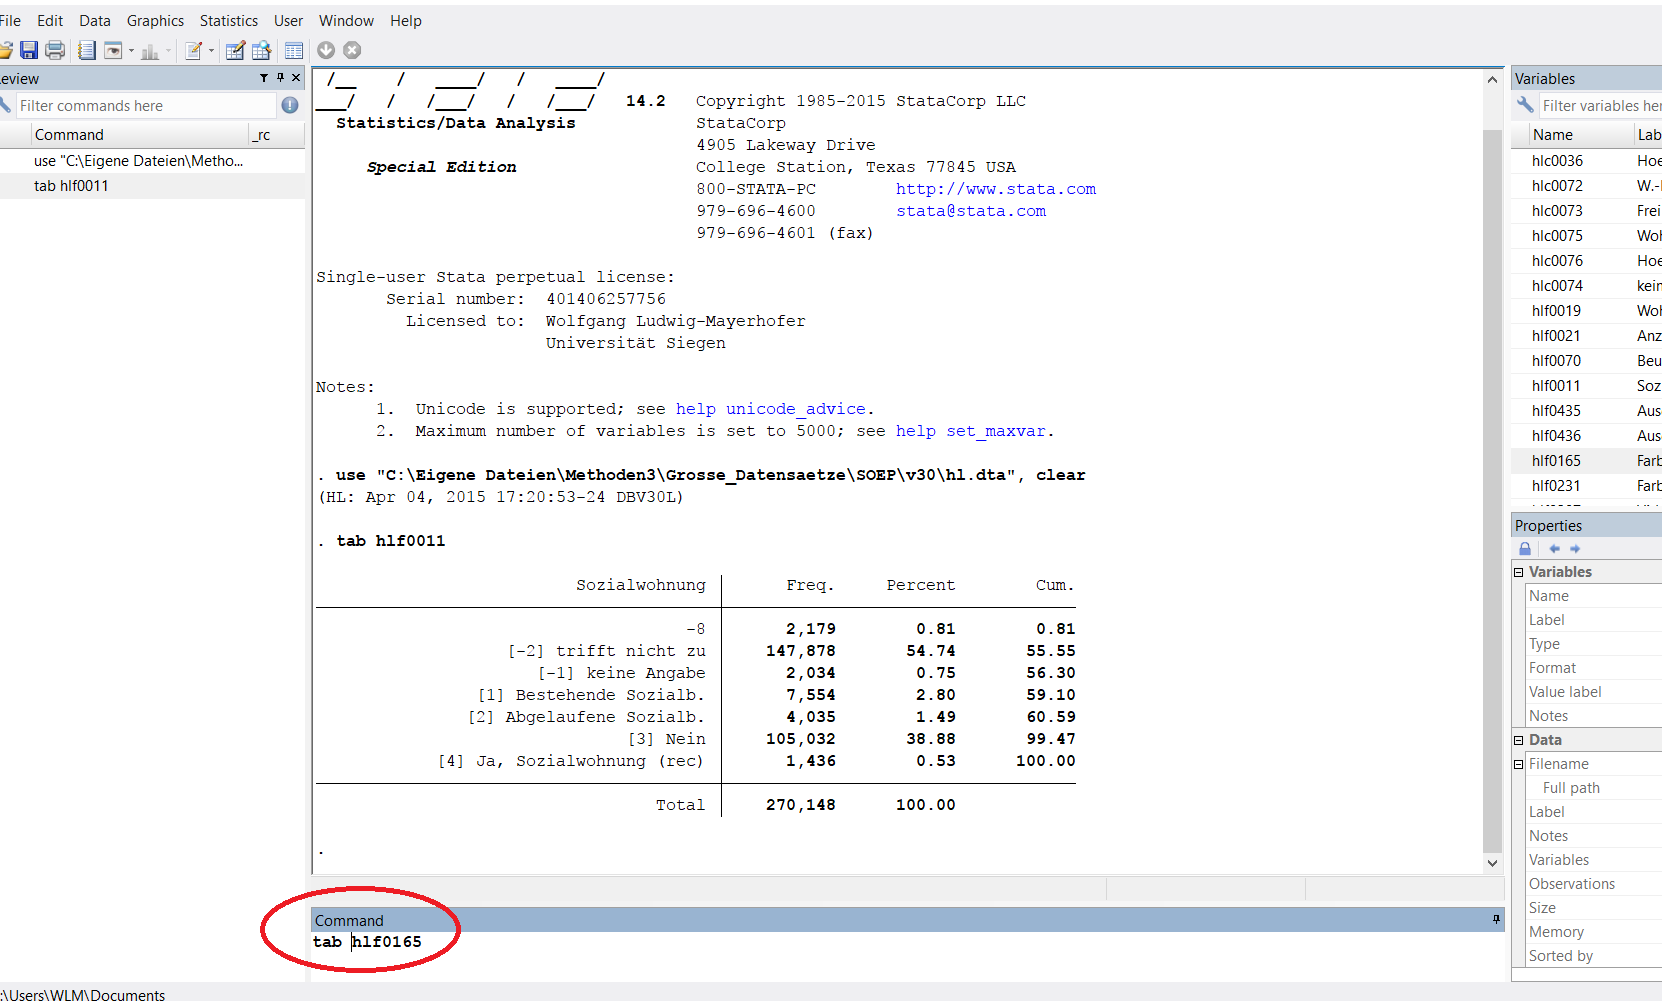
Commands entered via the command window
The basic way of interacting with Stata that is proposed here is through commands that are written in (more or less) plain English and are 'submitted' to Stata. One way to enter commands is to use the Command window, typing a command (as can be seen here at the bottom) and pressing ENTER:
Indeed, all of the commands you will find here can be used this way. However, if you aim at more than just having a casual glance at the data it will be advisable to collect the commands, as it were, that is, to put them together into one or several files. Such files are called "do files".
Commands entered via a do file
The best way to work with Stata's commands is to collect all your commands in a file or perhaps several files, depending on how complex your work is. In some other statistics software, such a file may be called a "syntax file" or a "script". In Stata, it is termed a "do file".
To create a do file, Stata offers a special window called the do-file editor. You can open it by any of the following:
- Enter "doedit" (abbr.: "doed") in the command window and press the ENTER key
- Click on the appropriate icon (moving your mouse over the icons will tell you which one to use)
- In the menu, click on "Window" and then on "Do-file Editor"
- (Until version 11:) Press Ctrl+8 (on German keyboards, "Ctrl" is represented by "Strg")
- (As of version 12:) Press Ctrl+9 (on German keyboards, "Ctrl" is represented by "Strg")
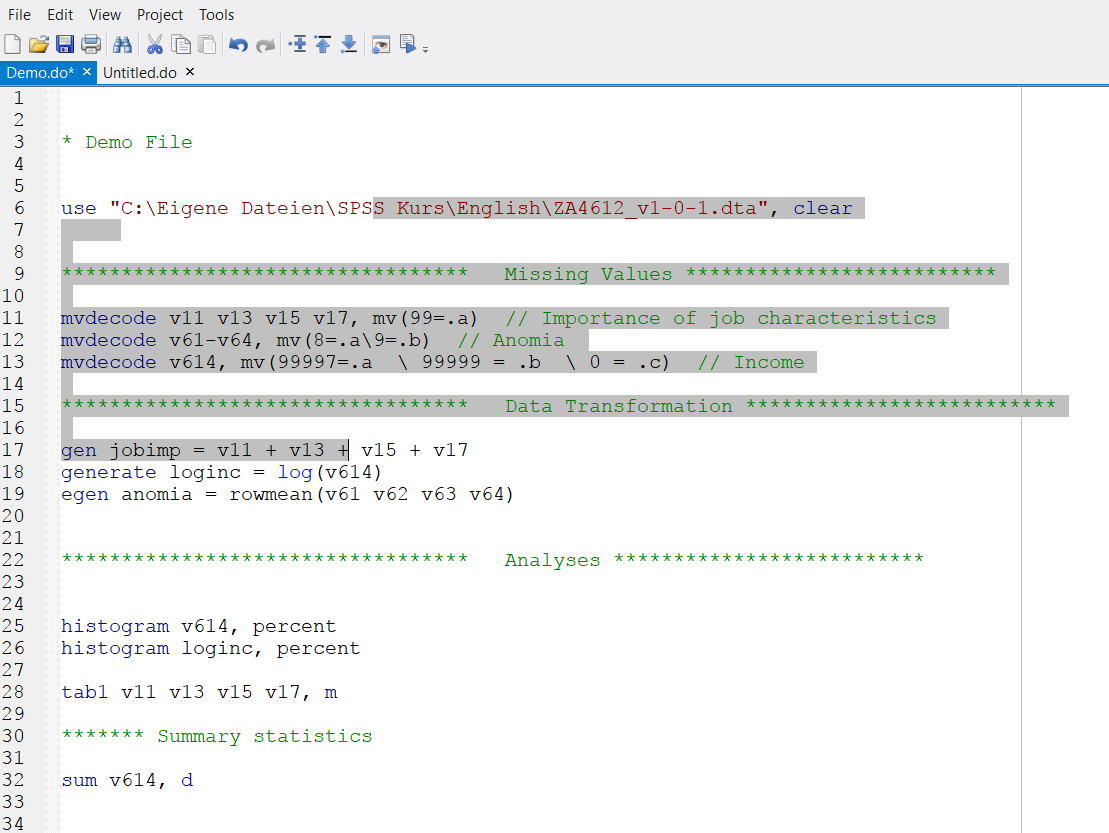
Now you can begin to write your commands. A short do file might look like this:
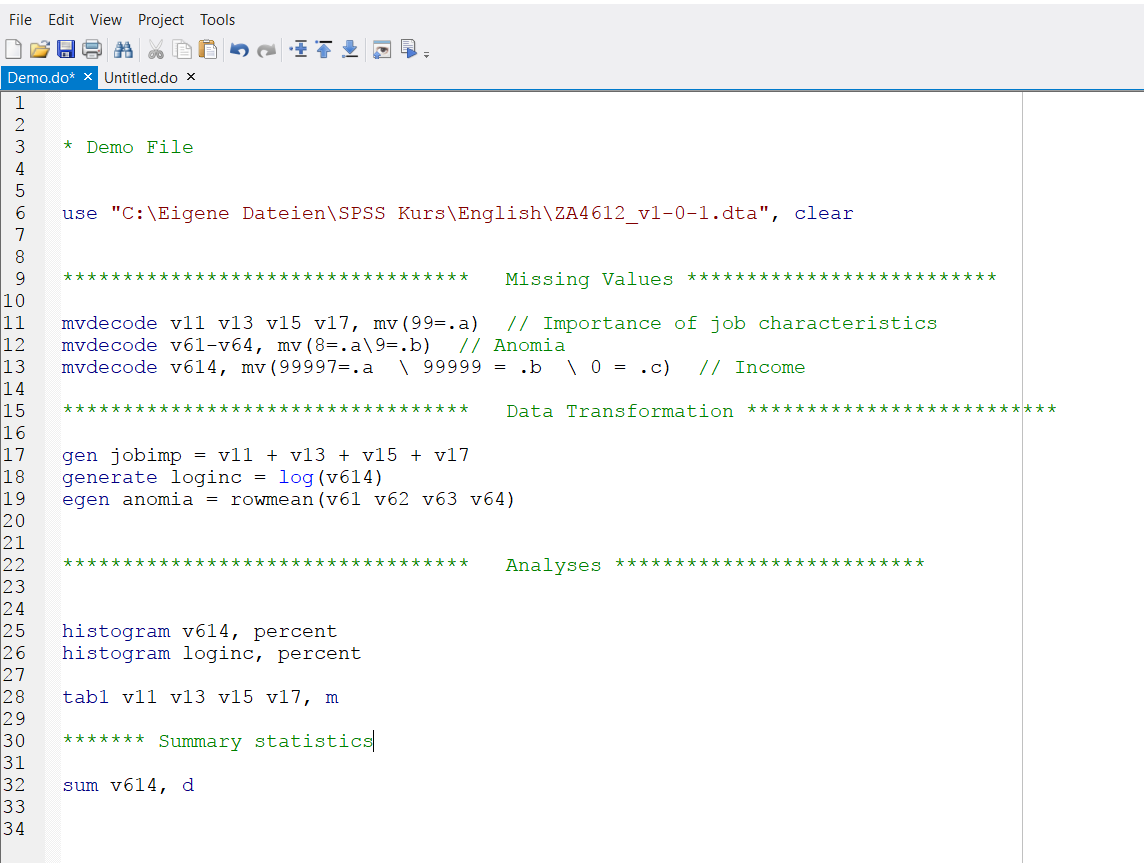
Notice the color coding: Stata keywords are in blue, most of the remainder of commands is in black, and file or path names are in red. Everything that's green is a comment (see below).
You may run an entire do file by pressing Ctrl + d (in German: Strg + d). But you may also run just a part of a do file. To do this, highlight everything from the first to the last line of the section you wish to run:
As you can see, the first and last lines need not be highlighted in their entirety; you may start and end just anywhere.
More about commands
Stata commands start with a keyword that indicates the specific procedure to be employed. As Stata is used for doing data analysis, often the names of one or several variables follow. An important notion is that of options: Options can be used to expand commands (that is, with their help Stata is informed that additional things are to be done that are not included in the default command), or to specify commands (that is, to inform Stata that things are to be done in a specific way), or both. That is, a command is a series of keyword(s), variables and options; sometimes, variables are linked by operators (such as the + or - sign, or stuff like "and", "or", "equal to"), particularly in computations.
As of version 16, the do-file editor allows autocompletion. Autocompletion is offered not only for commands; Stata will also remember all other words used in the current do-file (e.g., variable names or words used in comments [see below]) and offer these for autocompletion whenever deemed appropriate.
Abbreviating commands and options
Many of the keywords used in commands can be abbreviated, typically by entering only the first or the first two or three characters and omitting the rest. The same goes for options.
In this guide, I will try to deal with this as follows: Upon first explanation of a command, the full keyword will be given; later on often the abbreviated version will be used. If there is a single occurrence, I will sometimes indicate the abbreviated command or option by square brackets, as in frac[tion]; this would mean that fraction can be abbreviated to frac. Options frequently will be introduced as abbrevations only.
Note that there may be quite a lot of exceptions to these rules. However, everything you see here will work with Stata.
Stata is case sensitive!
In contrast to some other programs, Stata is case sensitive. More specifically,
- commands (keywords) have to be written in small letters,
- variable names have to be used exactly as they appear on the variables list.
On the other hand, I have the impression that Stata does not bother about small or capital letters in the case of directory or file names; in other words, up to now I have not encountered problems with using whatever letters I liked, regardless of how the file or directory name appears in the file explorer.
In contrast to command keywords, which invariantly have to appear in small letters, you may occasionally come across an option to be written in capital letters. As far as I can see such options are very rare. That is, most options have to be written in small letters as well. Anyway, they have to be written exactly as required by Stata. I am pretty confident that this guide is quite accurate in this respect, but as a human being I am error prone and so occasional mistakes cannot be ruled out.
(Very) long commands
Note that a command cannot stretch over more than one line; normally Stata interprets the "return" key (or "carriage return", to use a term from the typewriter age that is still in use) as a command delimiter. Accordingly, as you write a command the line will not be wrapped automatically when you reach the end of the screen; rather the window will be shifted to the left, which makes long commands difficult to read. There are two ways do deal with this problem:
- You may end a line with three slashes preceded by a blank, i.e. ///, and continue the command on the next line; this can be repeated ad libitum. Stata will combine all lines 'connected' via /// into a single command (the last line will not end with slashes!). Please note:The blank before the three dashes is really important! Omitting it will produce an error and thus cause abortion of your current Stata run.
- You may switch to using the semicolon (";") as a command delimiter as follows:
- Write a line consisting of
#delimit ;. - Commands may now be continued over as many lines as you want, with Stata interpreting the occurfence of a semicolon as the end of the command.
- If you want to switch back to 'normal' mode, write a new line with the command
#delimit cr(no semicolon required at the end!).
- Write a line consisting of
Please be aware that in this guide you may see commands that extend over several lines without /// and without a semicolon as command delimiter. Whether this occurs will depend on the size and the settings of your screen and your browser. I will try to use short command lines as much as possible, but this will not always be feasible. And after all, it won't be too realistic. Anyway, even what I think is a short line may be "long" in relation to your screen, and browsers should not be forced to extend lines beyond the screen width.
When you have finished, you can save your do file; this is done just as with any other software. When you restart your work, you can open the do-file editor again and use a file you have saved previously, again just like in the case of other software. Note that you might wish to save your do file repeatedly while at work, as there is no automatic saving procedure in the case of a computer crash. I may also note that in my (limited) experience Stata is running smoothly; in other words, it is rarely Stata itself that causes trouble. But other software you may be using concurrently may behave differently, or your computer simply my be prone to get messed up every now and then.
Comments
A comment is any text you like that you write in a do file in order to remember later what it was all about (or in order to let others know). Stata of course will have to know whether what it encounters in a do file is intended as something to "do", that is, a command, or as a comment only.
* Here I will recode income into categories
is a single-line comment. Stata will ignore this single line. Of course, several lines starting with an asterisk may follow each other. A more convenient solution for longer comments is the following:
/* Here I will recode income into categories using the
categories proposed by Dr Özgul-Harnischfeger. Personally,
I think we should use fewer categories */
This comment stretches over several lines. It is important not to forget the concluding asterisk-cum-slash clause.
A further possibility is
recode income (1/300 = 1) (301/600 = 2) (601/1000 = 3) /* Dr Özgul-Harnischfeger's categories */
In other words, a comment may be appended immediately to a command.
You may also use double slashes for short comments
recode income (1/300 = 1) (301/600 = 2) (601/1000 = 3) // this works!
but this type of comment must not be extended to the next line. So, the earlier version combining slashes and asterisks is more flexible. Actually, the two slashes just tell Stata to ignore everything until the the end of the line, excluding the (invisible) "carriage return" (or "End of Line") character that informs Stata (just as any other software) that the end of the line has been reached.
Set more off, set mem 300m
Normally, Stata pauses to display output after a certain number of lines and waits for any key to be pressed in order to continue.
set more off
suppresses pauses, thus allowing smooth running of Stata. Please note: If set more off is used within a do file, it will be valid only for the commands executed from this do file. To make it "permanent" (for your current session), you have to execute it from the command line.
The next command is not necessary anymore in "modern" versions of Stata (I think since version 12). But older versions of Stata reserve only a small amount of memory for the data which is not always sufficient; for instance, I encountered trouble with a data set with 1200 cases and, yes, a lot of variables (say, 1000; I never did count them). The storage type of variables also plays a role here. If you are working with an older version, you may therefore wish to increase this space to, say, 300 MB with the command
set mem 300m
The option perm may be added to make Stata allocate this amount regularly from the start. At any event, don't forget the "m" following the number indicating the required memory; otherwise Stata will interpret the number as kilobytes. For large memory requests, you may use the abbreviation "g" for gigabyte(s).
As you might have guessed, there is a number of further settings. To learn more about the current settings, just type query into the command window. And yes, help set will provide more information about how to change system parameters.
Using Stata as a calculator
display sqrt(4)
will cause Stata to calculate the desired value (the square root of 4) and to display the result. The short version is dis(This section obviously is just a short reminder that the display command exists. You can use any mathematical function available in Stata.)
© W. Ludwig-Mayerhofer, Stata Guide | Last update: 19 Jul 2020